BEAUTIFUL FRESH FLOWERS
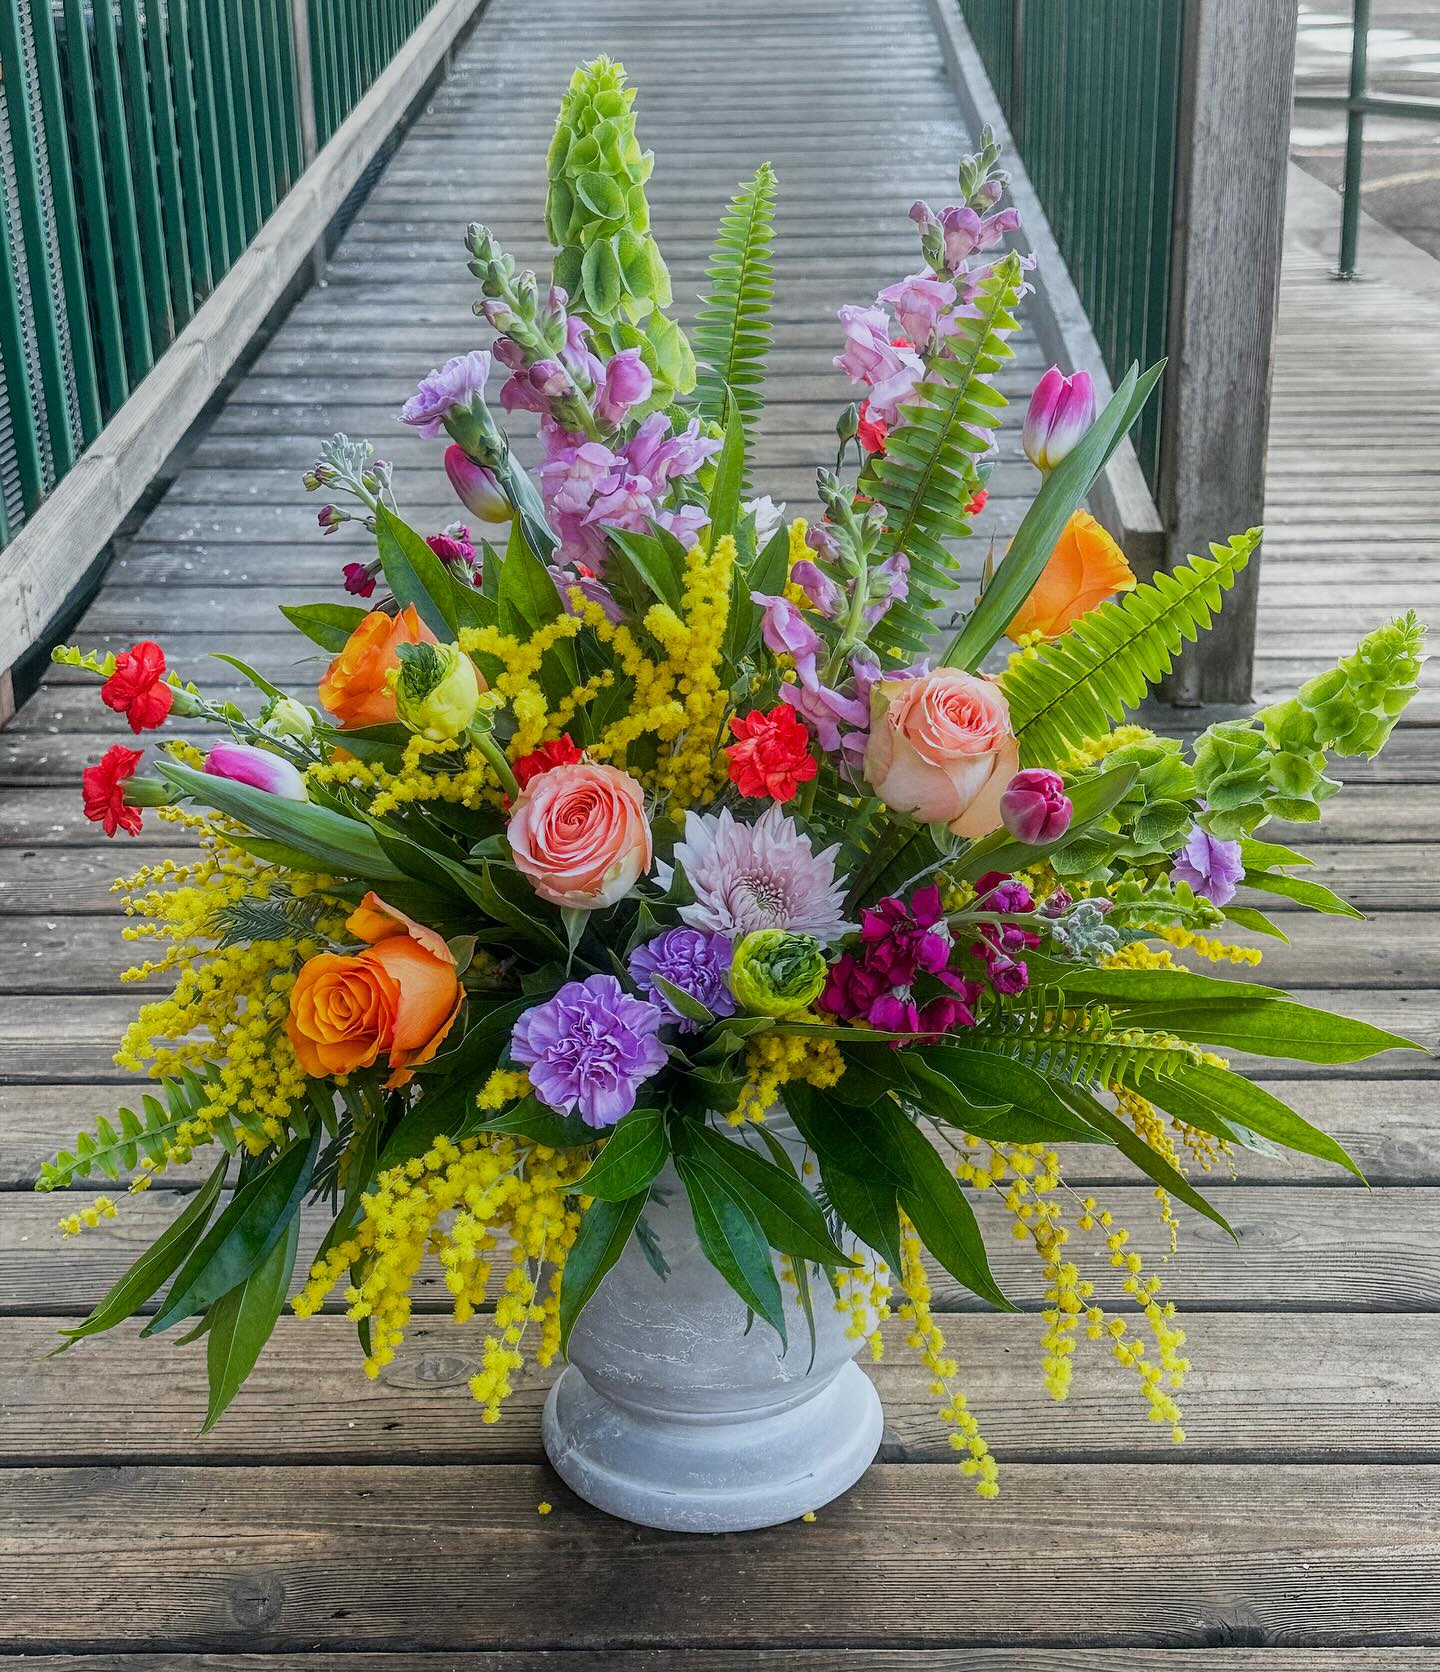
Bella Rosa is a full-service flower shop with a flair for color and creative designs. We specialize in everyday floral arrangements, funerals, weddings and events in the Sioux Falls, SD area. Visit our shop at 8th & RR for a unique selection of home decor and gifts or order flowers online for local delivery. Our enthusiasm for the design process knows no limit. We continue to challenge our creative abilities while staying true to our signature style.

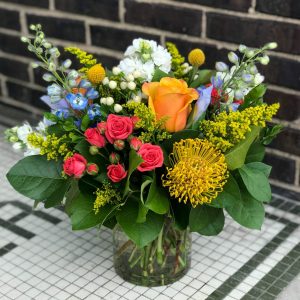
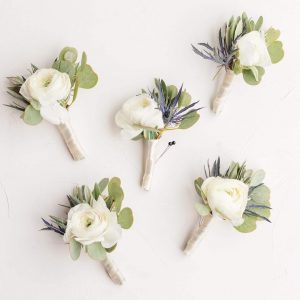


We specialize in flower arrangements and decor items for all of life’s events.
We strive to provide only the highest quality products, focusing on a unique design and superior craftsmanship.
Follow Our Journey on Instagram @bellarosafloral


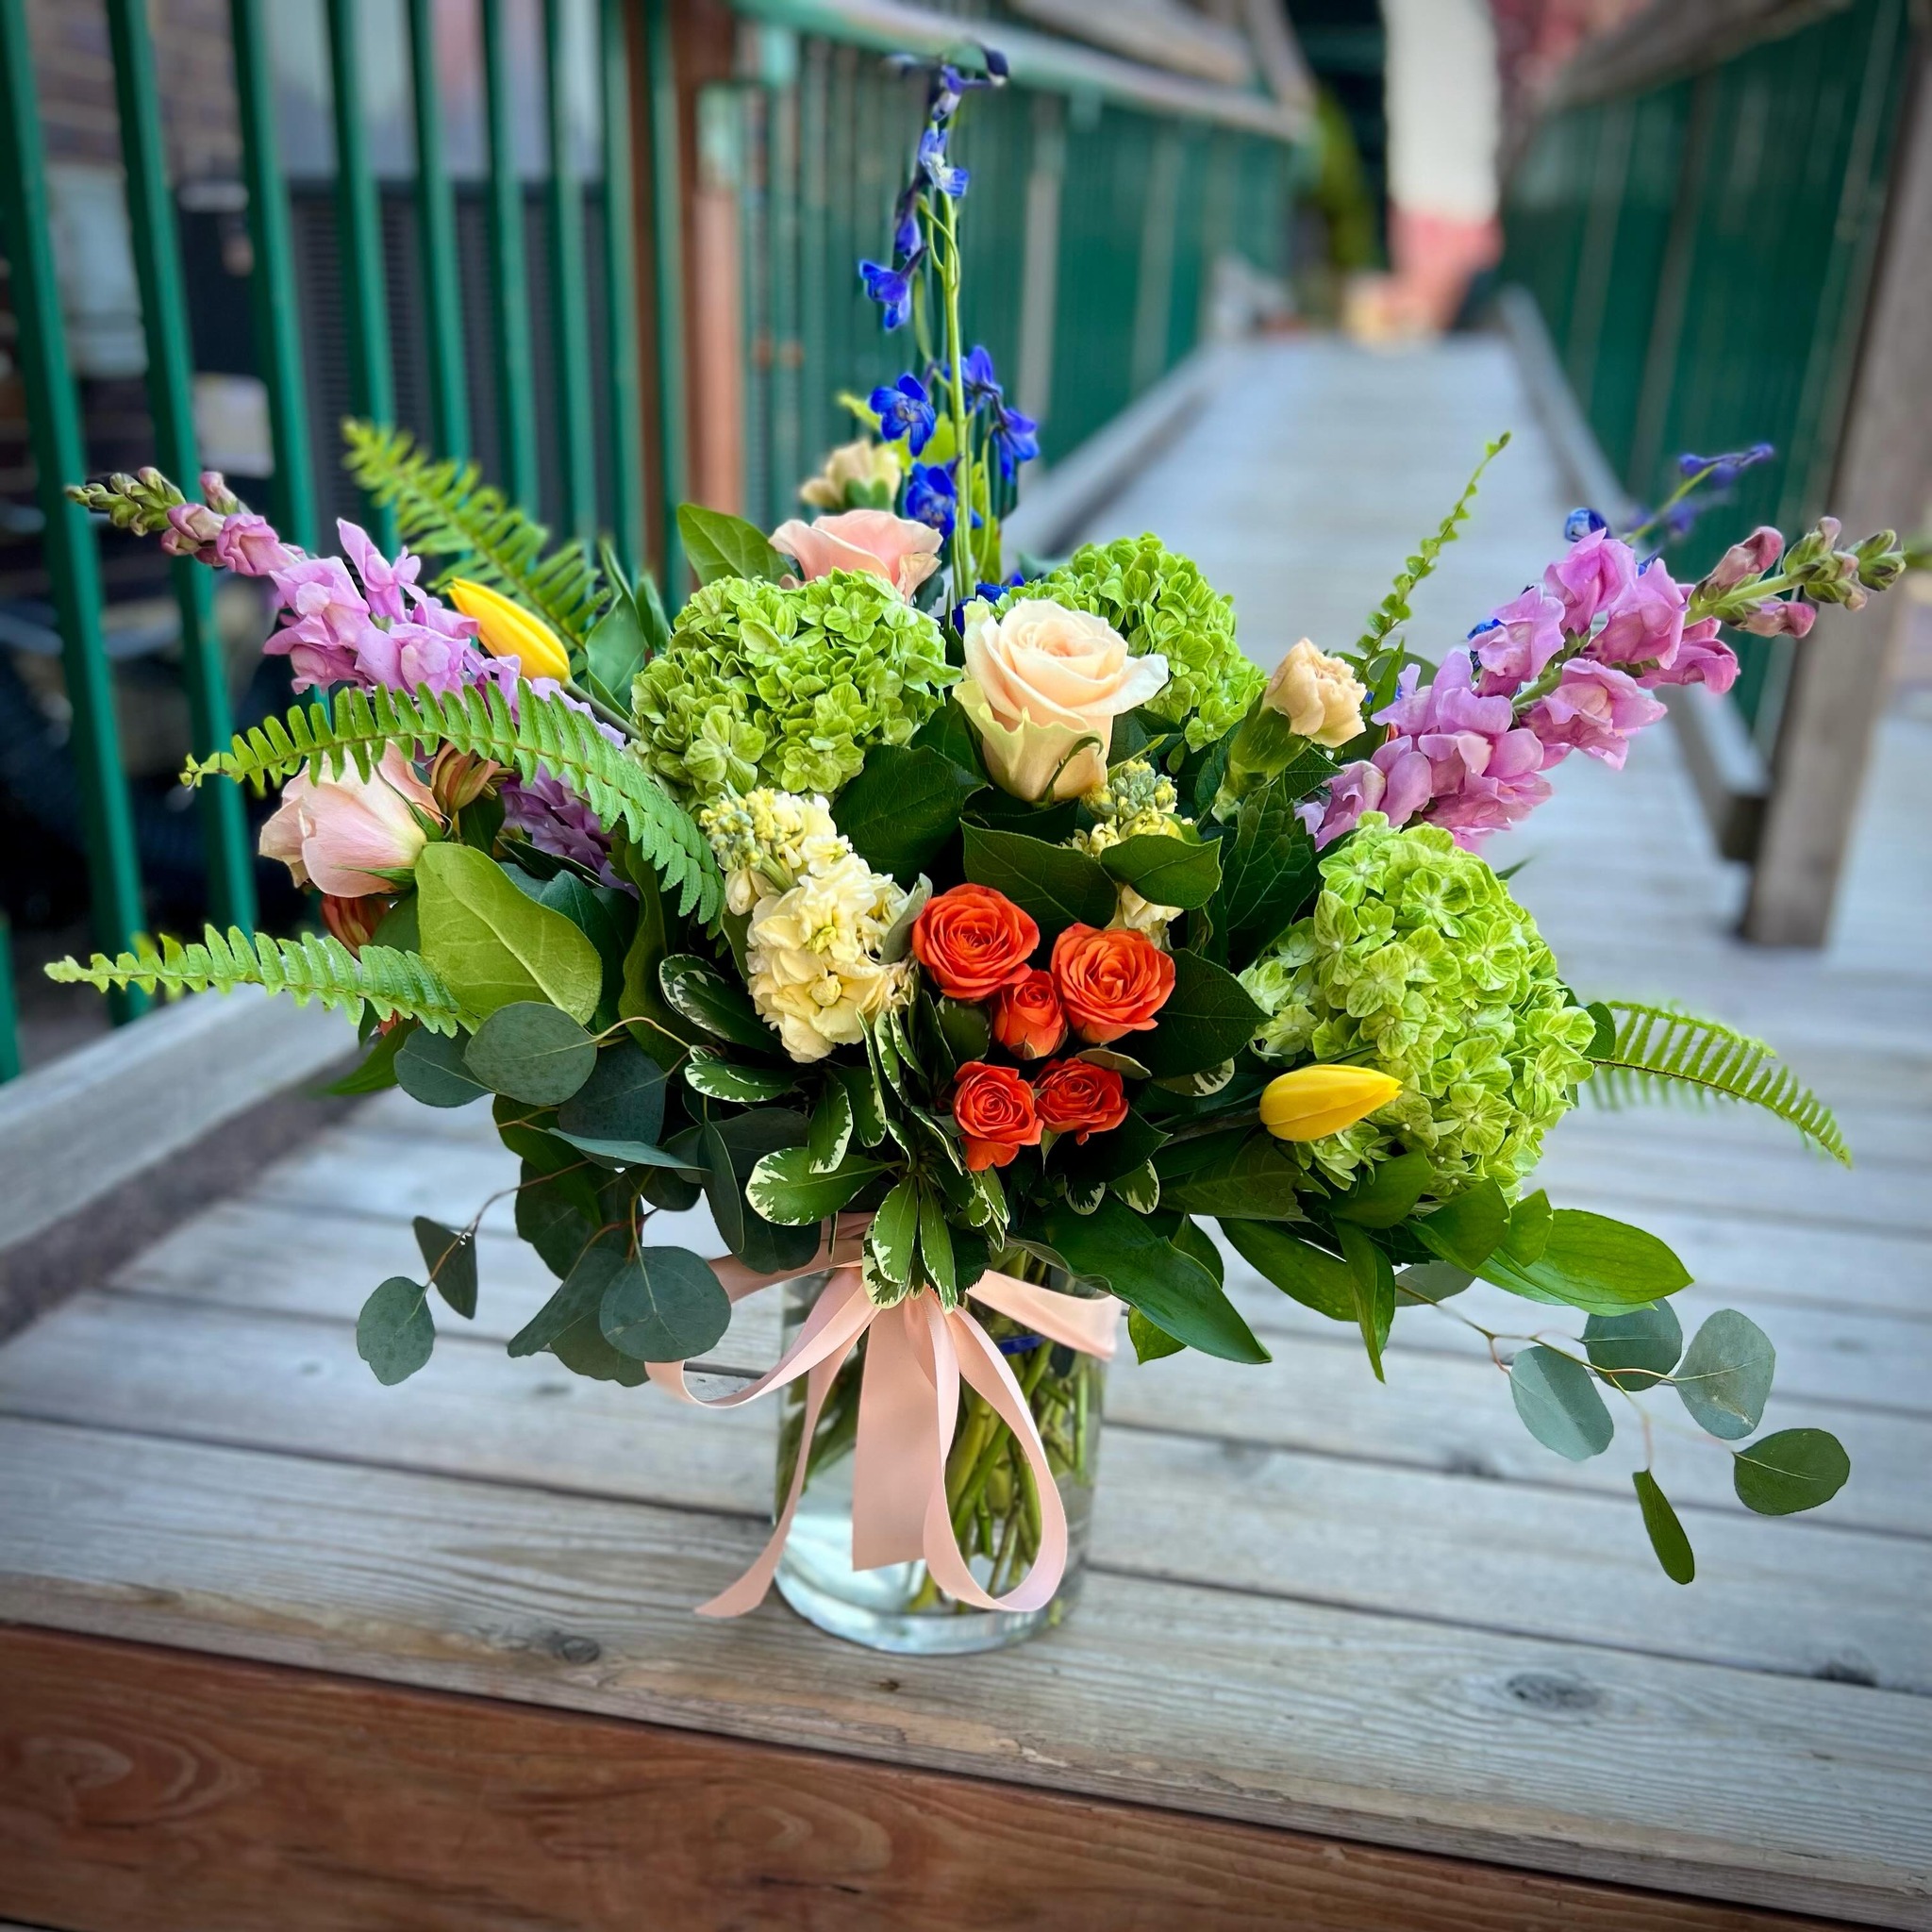
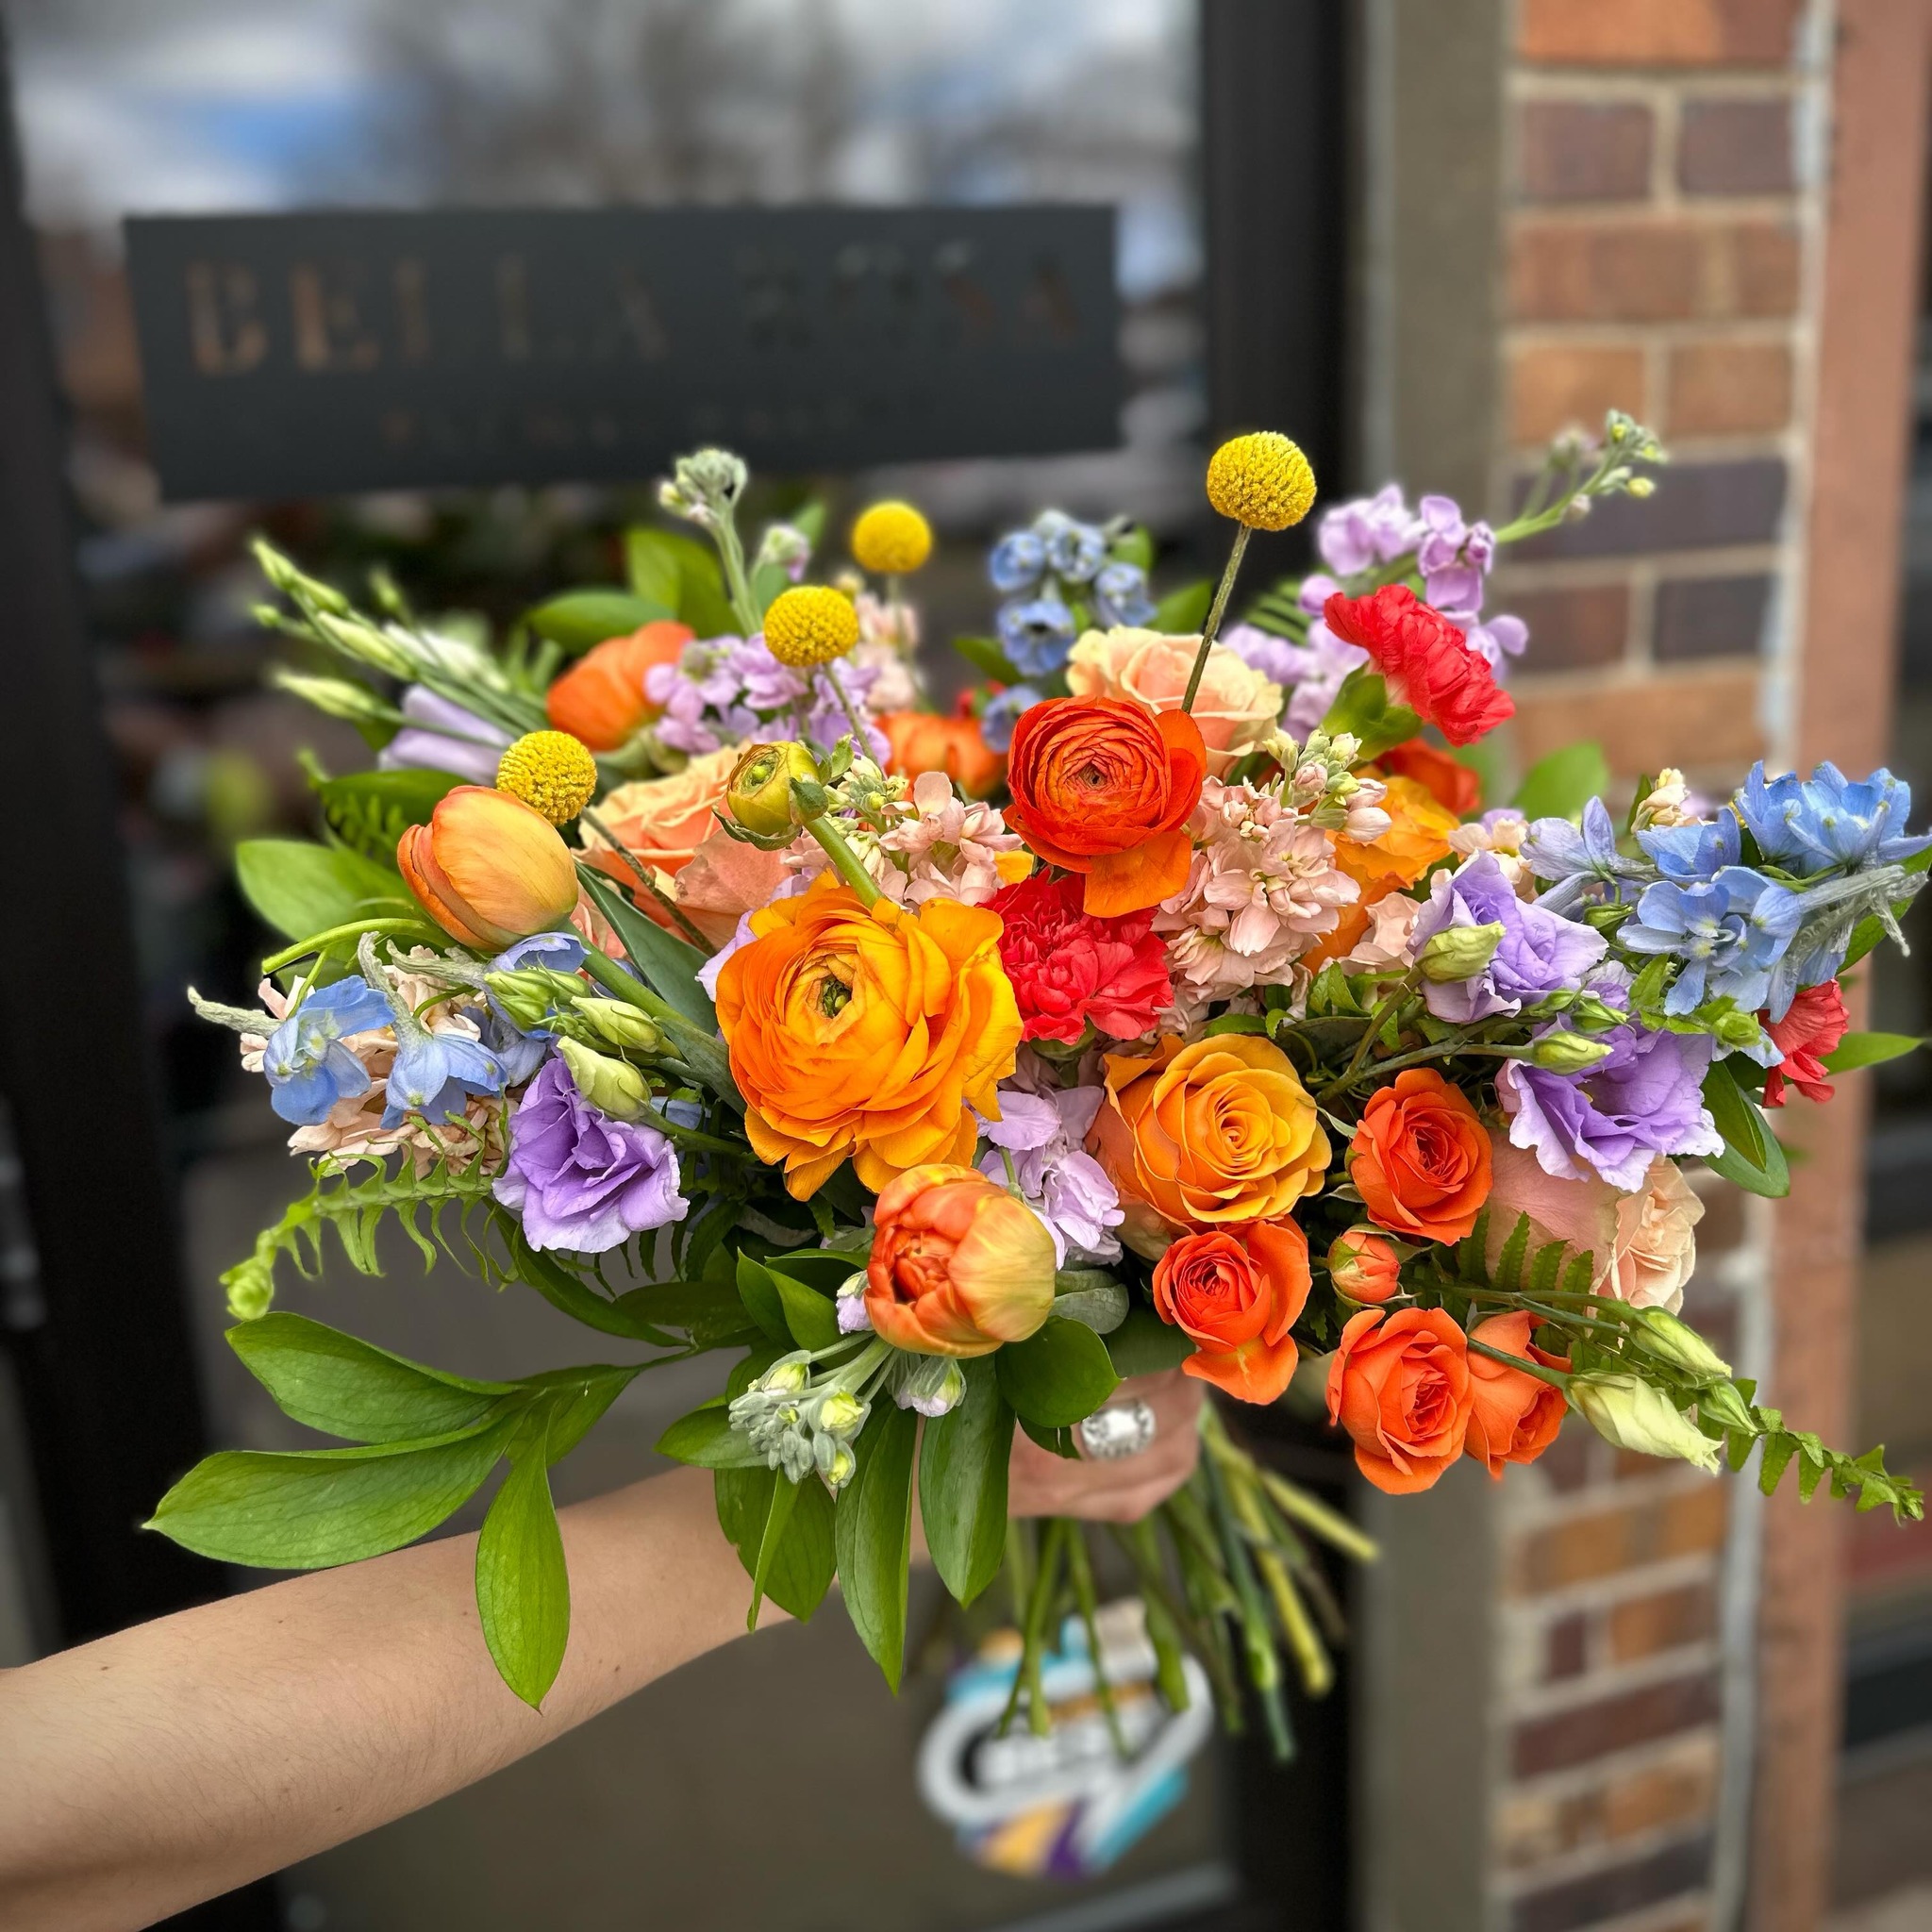
Mother’s Day is less than a week away! Don’t forget about your mom on her special day! Order online at bellarosamarket.com or call the store at 605.271.2637 🌷
6 days ago

Mark your calendars for Pot Day! We will be offering 20-40% off all pots on Saturday, 4-20. Preview sale on Friday 4-19!
3 weeks ago


We’re loving our new spring merch! 🌷🌸🌼
.
.
.
.
Stop in and check it out!!
2 months ago
On this cold, snowy day, remember Spring is just around the corner! 🌷
2 months ago
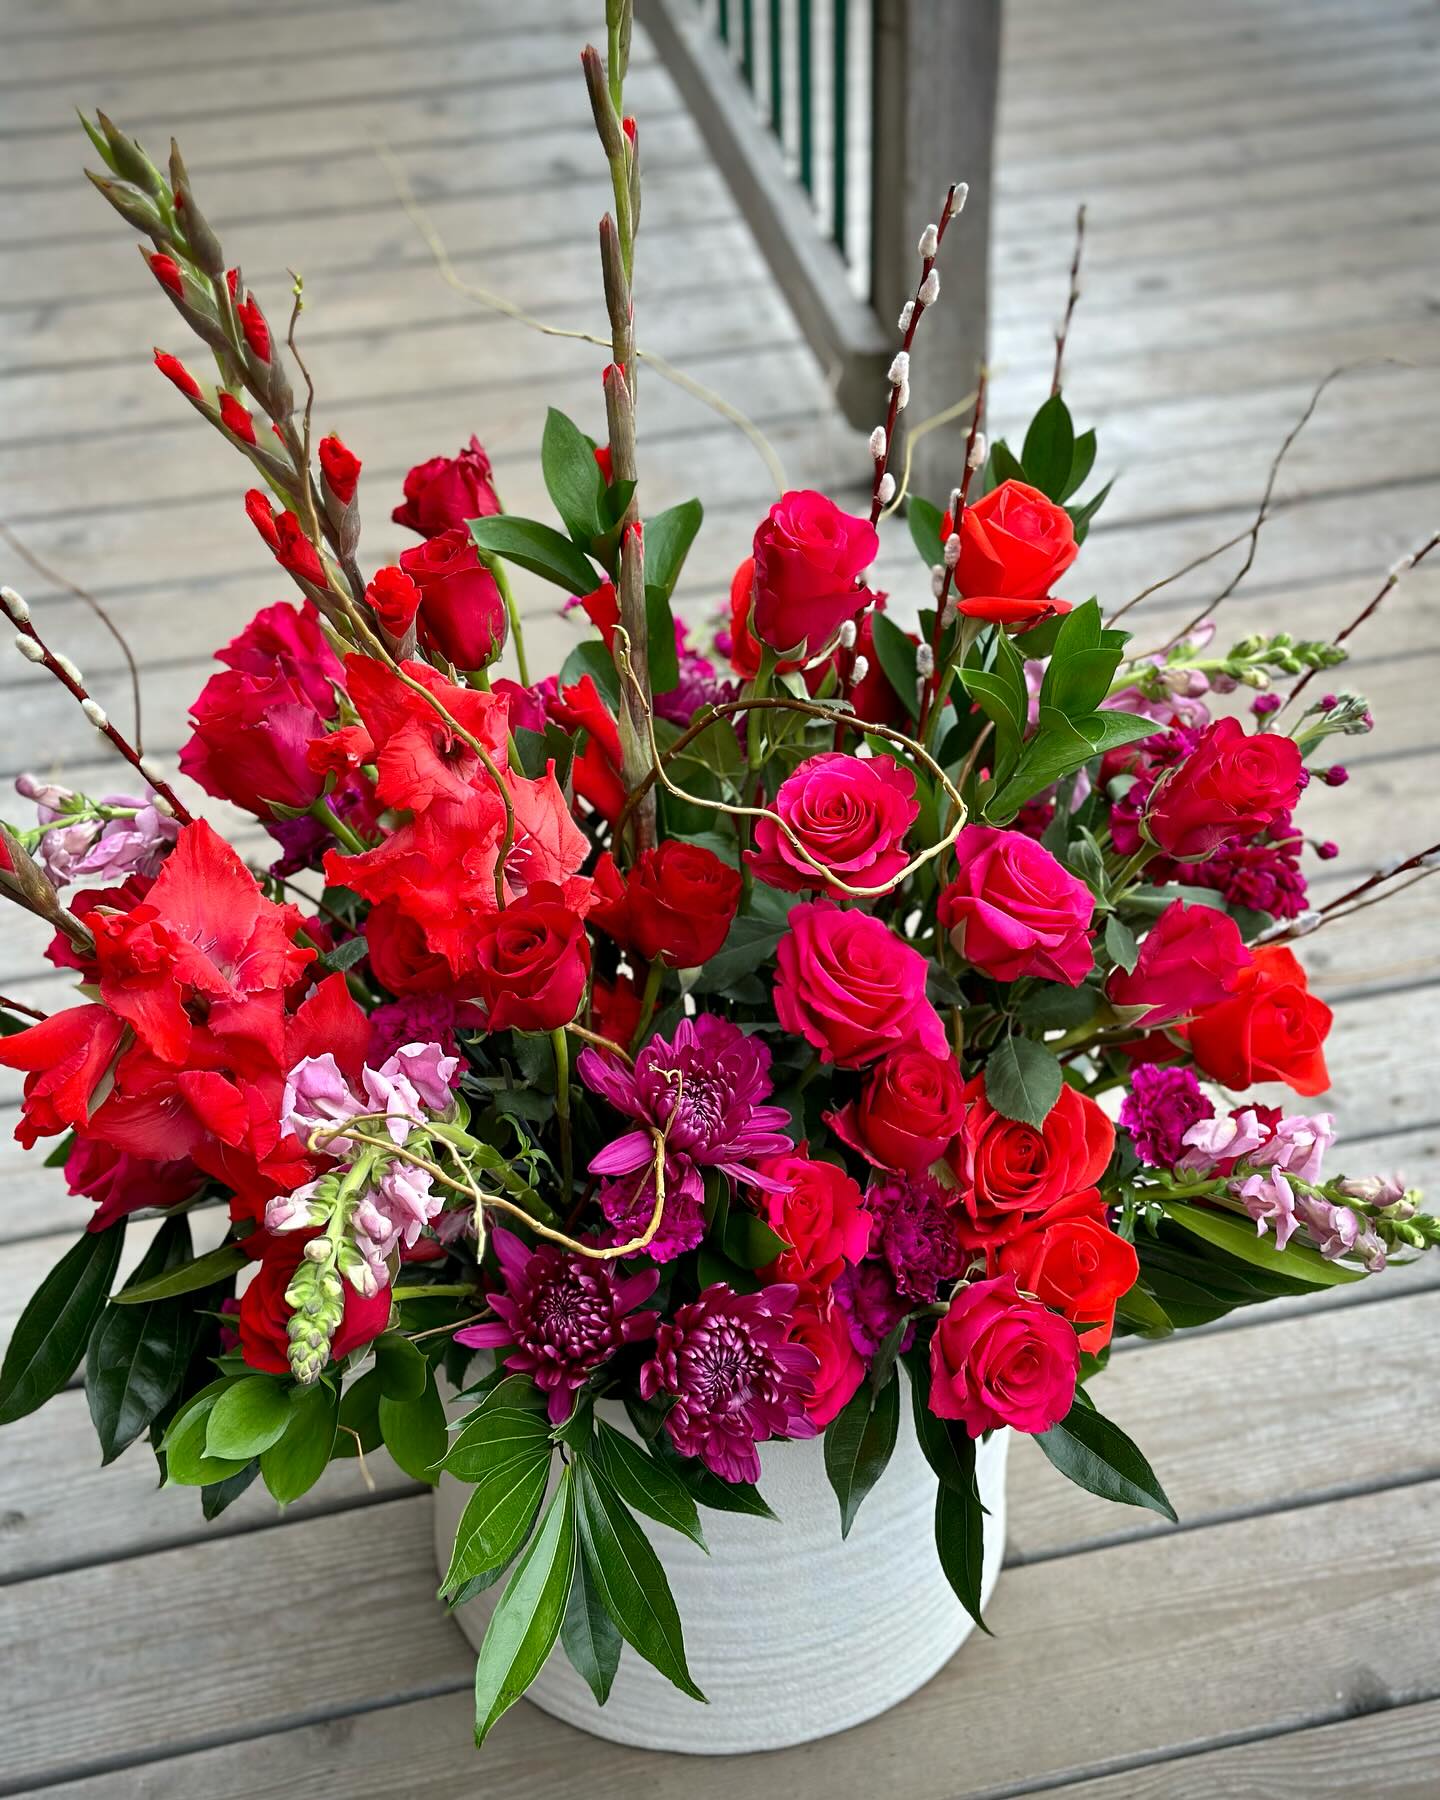
Happy Valentine’s Day! We want to thank all of our amazing customers who supported Bella Rosa this holiday! And to our fabulous staff, you are the BEST! 🥰
3 months ago
Reserve your Valentine’s Day arrangement today! Order online at bellarosamarket.com or call 605.271.2637
3 months ago
Don’t forget about Valentine’s Day! Place your order today! bellarosamarket.com | 605.271.2637 ♥️
3 months ago